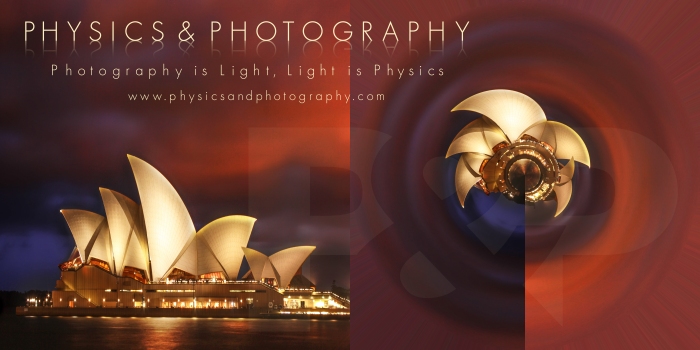
 When creating tiny planets, making them seamless is the hardest part. Click through to read some tips & tricks about how I make my tiny planets; in particular, how I use blurring to fix the seam :) It is a simple process that achieves stunning results!
Tiny planets are one of my favourite things to create with panoramic images (and non panoramic too!). In one of my previous tutorials I go through the process of how to make tiny planets from scratch, so if you are not familiar with the steps go check it out! In this tutorial I am going to focus on what to do once you’ve made a tiny planet and the seam is very obvious and harsh – spoiler alert: it involves lots of blurring! :)
The first example is a tiny planet made from the following image (actually, it’s 18 images stitched together as shown in my panorama merging tutorial). I took it from Mrs Macquire’s Chair near the Sydney Botanical Gardens and it was one of the best sunsets I have EVER seen!

Once I’ve picked an image to make a tiny planet I will go through these steps to implement the distortion. In this next image you can see the panorama squished into a square (left) and the resulting tiny planet (right). Instantly I notice two things I want to improve:
- I would prefer the water in the centre to be much smaller.
- I would like the buildings to be a lot more elongated, reaching out towards the edge of the tiny planet.

I am going to achieve these effects by stretching the square image as you can see below (left). I have decreased the amount of water visible at the bottom of the image, and I have stretched the buildings to make them look taller. The difference in the tiny planet (right) is astounding already with such small changes!

Now that I like the overall shape of the tiny planet I need to fix that horrible seam and make it smooth. I have several ways in which I can do this and for this example I am going to focus on using the “Radial Blur” distortions in Photoshop. Just remember, before you to any distortions, duplicate the tiny planet layer because you will need to mask the blurring only in the desired regions.
You can find this effect by going to the “Filter” menu in Photoshop, the mousing over the “Blur” section, and clicking on “Radial Blur”. A pop up window like the one shown below will appear. The “Amount” slider determines how much blur is applied and “Blur Method” controls whether your pixels are blurred in circles (spin) or radially (zoom). Don’t worry much about the “Quality” I’ve always left it at “good” and the results look great.

I use both the spin and the zoom blurs for different effects. In order to blur the seam (and those pesky lines that often appear in the corners) I will use the spin blur; but I will often add a little bit of zoom blur in another layer afterwards to smoothen the skies. In the following video I have illustrated these 7 steps taken to smooth the seam in this particular tiny planet:
- Normal tiny planet.
- Add a layer of zoom radial blur and masked only the desired regions: seam, corners, and centre.
- Add some spin radial blur to the edges of the clouds.
- Slightly rotate the tiny planet.
- Add some more spin radial blur to blend the corners.
- Add a little bit of zoom radial blur to smoothen the outer clouds.
- Final touch: add some Gaussian blur (plot twist, a different blur! hehe) to the centre so it appears less pointy.
And voilá! Here we have ourselves a seamless – which you can actually purchase here as a print/sticker/tote/pillow/phone case… :)

The second example of blurring I would like to show you is this tiny planet of the opera house. I took this image from the Overseas Passenger Terminal in Circular Quay. As you can see, you don’t need panoramas to generate tiny planets, you can create them out of single shots too!

In the original version the opera house appears quite small in the tiny planet (image above) so I stretched it vertically and removed some of the top clouds so that It would become larger within the tiny planet (image below).

Some creative radial blurring to smoothen the seam, centre and clouds and we have a finished product! It kinda looks like a harlequins hat, don’t you think? hehe :)

Not only are tiny planets really awesome, they are also very simple to make – and one need not be a Photoshop genius to achieve a nice result! :) I personally also find tiny planets fascinating from a physics and computational point of view, and I’ve tried my hand and coding them using Matlab (which you can read about here).
Have fun making gorgeous seamless tiny planets, and be sure to share them with me on social media (Facebook, Google+, Instagram) – I would love to see your creations!
Thank you for reading!!
xx Ana :)
Really nice article Anita :) Thanks for sharing your knowledge !I will send you my results soon!
LikeLike
Thanks so much Clement!! I look forward to seeing them :)
LikeLike
Nice article and tips. Need to try them out :)
LikeLike
Thank you very much! I look forward to seeing your results! :)
LikeLike